使用技术
vitepressvue3scss
1. 初始化工程
1.1 创建工程
首先创建一个文件夹,再通过命令npm init -y初始化工程。
1.2 添加依赖
经过1.1步骤后,会在目录下创建一个package.json文件,通过命令npm i vitepress sass -D添加依赖。
1.3 添加脚本
在package.json文件添加script节点,并添加如下脚本:
json
{
  ...,
  "scripts": {
    "dev": "vitepress dev docs",
    "build": "vitepress build docs",
    "serve": "vitepress serve docs"
  }
}
2.编写帮助文档
2.1 创建doc目录
docs目录位于工程根路径下。
2.2 创建首页
在docs目录下创建index.md文件,即为首页。首页一般采用YAML frontmatter来实现。参考首页内容如下:
md
---
layout: home
hero:
name: 跟牛老师
text: 一起学WebGIS
tagline: WebGIS开发从入门到进阶,这里都有
image:
src: image.png
alt: image
actions:
- theme: brand
text: 进入学习
link: /blogs/
features:
- icon: 基础
  title: WebGIS基础
  details: GIS基础、WEB基础、相关操作以及WebGIS框架...

- icon: 实战
  title: WebGIS项目实战
  details: 台风路径展示完整案例,需求分析、编码实现...

- icon: 进阶
  title: 掌握更多的WebGIS技能
  details: WebGIS原理、SDK开发、geotools、postgis...
---
首页的预览效果如下: 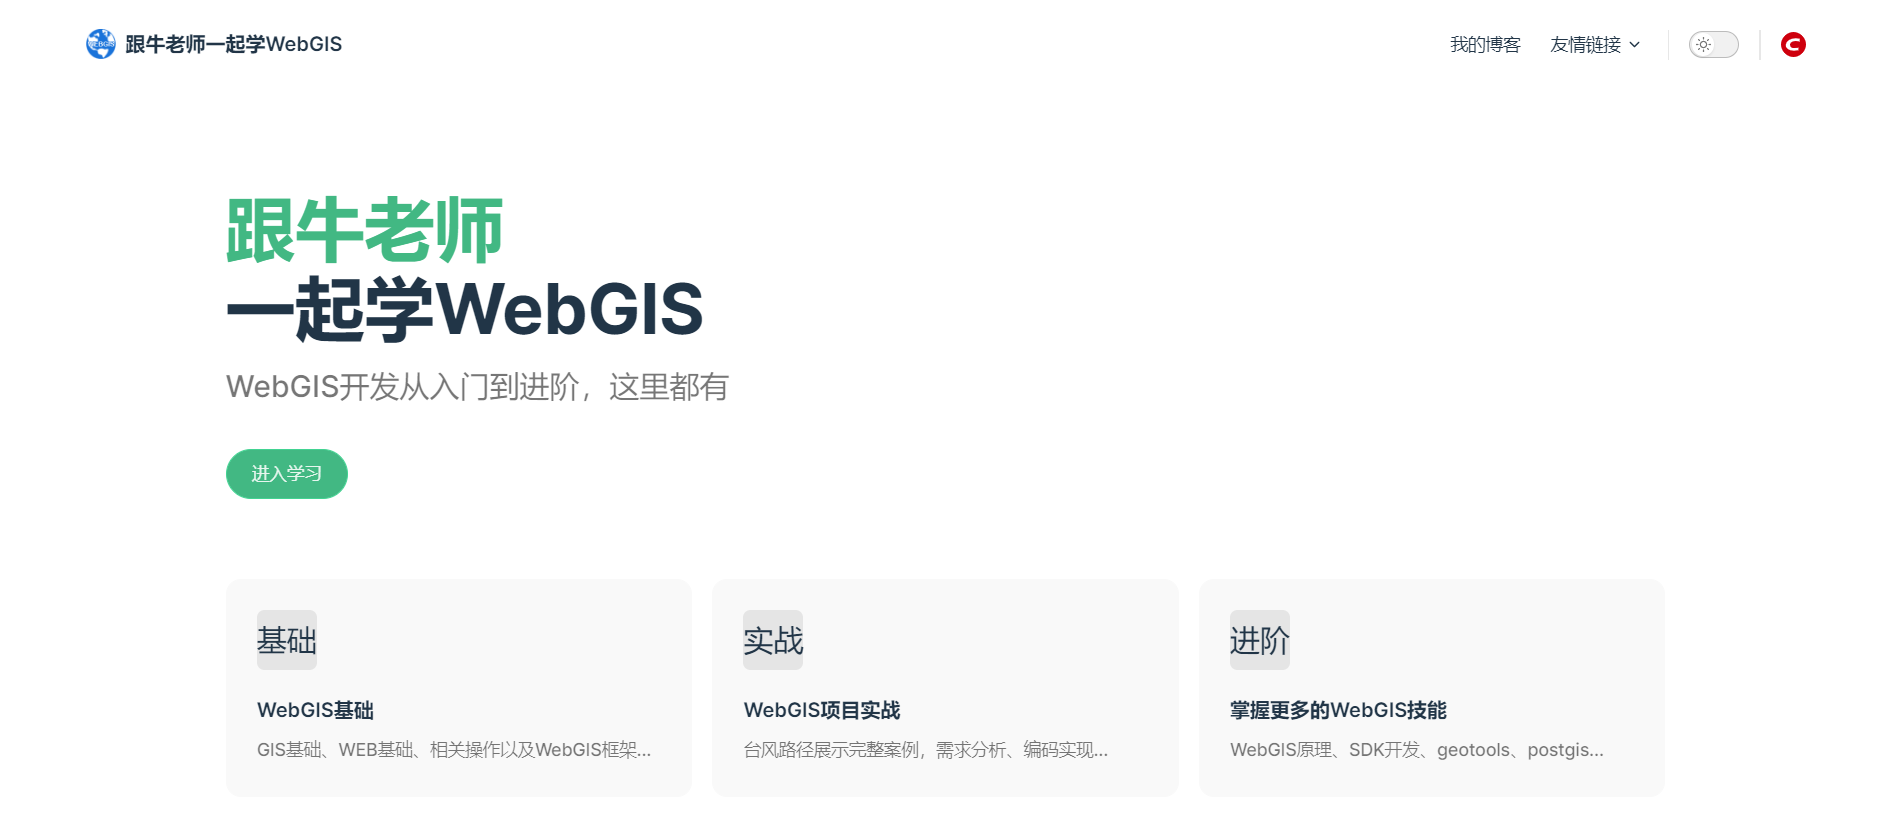
2.3 创建.vitepress目录
.vitepress位于docs目录下。
2.4 创建配置文件
在.vitepress目录下创建配置文件config.js,配置文件的内容如下:
js
module.exports = {
    title: '跟牛老师一起学WebGIS',
    description: 'WebGIS开发从入门到进阶,这里都有',
    lang: 'zh-CN',
    // github pages 配置
    base: '/lzugis-blogs/',
    head: [
        // 添加图标
        ['link', { rel: 'icon', href: '/logo.png' }]
    ],
    themeConfig: {
        // 网站 logo
        logo: '/logo.png',
        // 网站标题
        siteTitle: '跟牛老师一起学WebGIS',
        // 启动页面丝滑滚动
        smoothScroll: true,
        // 社交账户链接
        socialLinks: [
            {
                icon: {
                    svg: '<svg t="1671270414569" class="icon" viewBox="0 0 1024 1024" version="1.1" xmlns="http://www.w3.org/2000/svg" p-id="2135" width="64" height="64"><path d="M512 0c282.784 0 512 229.216 512 512s-229.216 512-512 512S0 794.784 0 512 229.216 0 512 0z m189.952 752l11.2-108.224c-31.904 9.536-100.928 16.128-147.712 16.128-134.464 0-205.728-47.296-195.328-146.304 11.584-110.688 113.152-145.696 232.64-145.696 54.784 0 122.432 8.8 151.296 18.336L768 272.704C724.544 262.24 678.272 256 599.584 256c-203.2 0-388.704 94.88-406.4 263.488C178.336 660.96 303.584 768 535.616 768c80.672 0 138.464-6.432 166.336-16z" fill="#CE000D" p-id="2136"></path></svg>'
                },
                link: 'https://blog.csdn.net/GISShiXiSheng'
            }
        ],
        // 导航栏配置
        nav: [
            {
                text: '我的博客',
                link: '/blogs/'
            },
            {
                text: '友情链接',
                items: [
                    { text: 'CSDN', link: 'https://blog.csdn.net/GISShiXiSheng' }
                ]
            }
        ],

        // 左侧边栏配置
        sidebar: {
            '/blogs/': [
                {
                    text: '博客目录',
                    collapsible: true,
                    items: [
                        {text: '概述', link: '/blogs/'},
                        {text: 'WebGIS基础', link: '/blogs/basic'},
                        {text: '项目实战', link: '/blogs/project'},
                        {text: '高级进阶', link: '/blogs/more'},
                    ]
                }
            ],
        },

        // 右侧边栏标题
        outline: 'deep',
        outlineTitle: '章节导航',

        // 上下篇文本提示文字
        docFooter: {
            prev: '←上一篇',
            next: '下一篇→'
        },

        // 上次更新时间提示文字
        lastUpdatedText: '上次更新时间',

        // 编辑链接
        // editLink: {
        //     text: '我的博客',
        //     pattern: 'https://www.csdn.net/'
        // },

        // 页面底部
        footer: {
            message: '',
            copyright: 'Copyright © 2022 LZUGIS'
        }
    }
}
在配置文件中主要完成:
- title,页面标题
- base,为网站前缀,如果部署为根目录,在为
''; - themeConfig ,主题配置,包括
- siteTitle,网站标题
- nav,顶部导航配置
- sidebar,左侧边栏配置
3.添加组件和静态资源
3.1 添加组件
为方便组织,将组件统一放到docs/components目录下面,例如新建一个页面预览的组件PagePreview.vue,文件内容可如下:
vue
<template>
<div class="container">
  <div class="header">
    示例:
    <a class="link" :href="url" target="_blank">
      ❐ 查看
    </a>
  </div>
  <iframe class="content" frameborder="0" :src="url"></iframe>
</div>
</template>
<script>
export default {
  name: 'PagePreview',
  props: {
    url: {
      type: String,
      default: ''
    }
  }
}
</script>
<style scoped lang="scss">
.container {
  width: 100%;
  height: 500px;
  display: flex;
  flex-direction: column;
  .header {
    font-weight: bold;
    margin-bottom: 1rem;
    .link {
      float: right;
      text-decoration: none;
      font-size: 0.9rem;
      &:hover {
        cursor: pointer;
        text-decoration: underline;
      }
    }
  }
  .content {
    flex-grow: 1;
  }
}
</style>组件的引用则是在对应的*.md文档中引入使用即可。
md
// 引用组件
<page-preview :url="'../www/map.html'" />

// 引入组件
<script setup> import PagePreview from '../components/PagePreview.vue' </script>
3.2 添加静态资源
在docs目录下创建public目录,用以存放静态资源,比如:网站logo,引用图片等资源。 如图片的使用可如下:
md
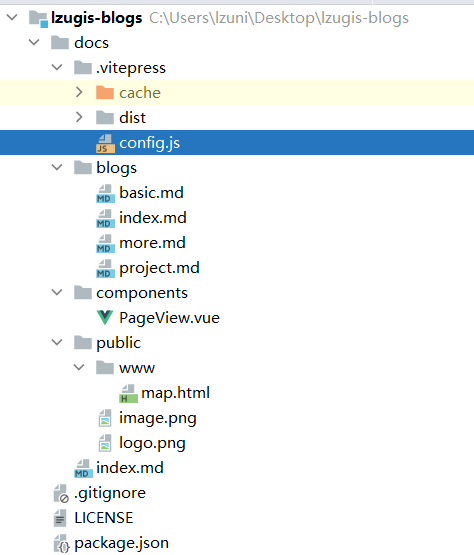
完成后工程整体目录如下图: